How to Switch from Cooling to Heating Mode Without Damaging Your HVAC System

There is an unmistakable feeling that arrives with the first truly cool autumn night in Canada. It is the moment the open-window breeze becomes a distinct chill, and the thought of turning on the heat first crosses the mind. This seasonal shift prompts a series of home preparations. We start adjusting our thermostats, giving a thought to our heating systems, scheduling furnace repair if needed, and even inspecting key areas like our garage doors to ensure they are sealed and ready to keep the winter cold out. While switching from cooling to heating mode might seem as simple as flipping a switch, a few extra steps can prevent unnecessary strain on an HVAC system, improve its efficiency, and ensure it runs reliably all winter long. Partnering with a trusted HVAC company for a fall check-up is always a smart move for complete peace of mind.
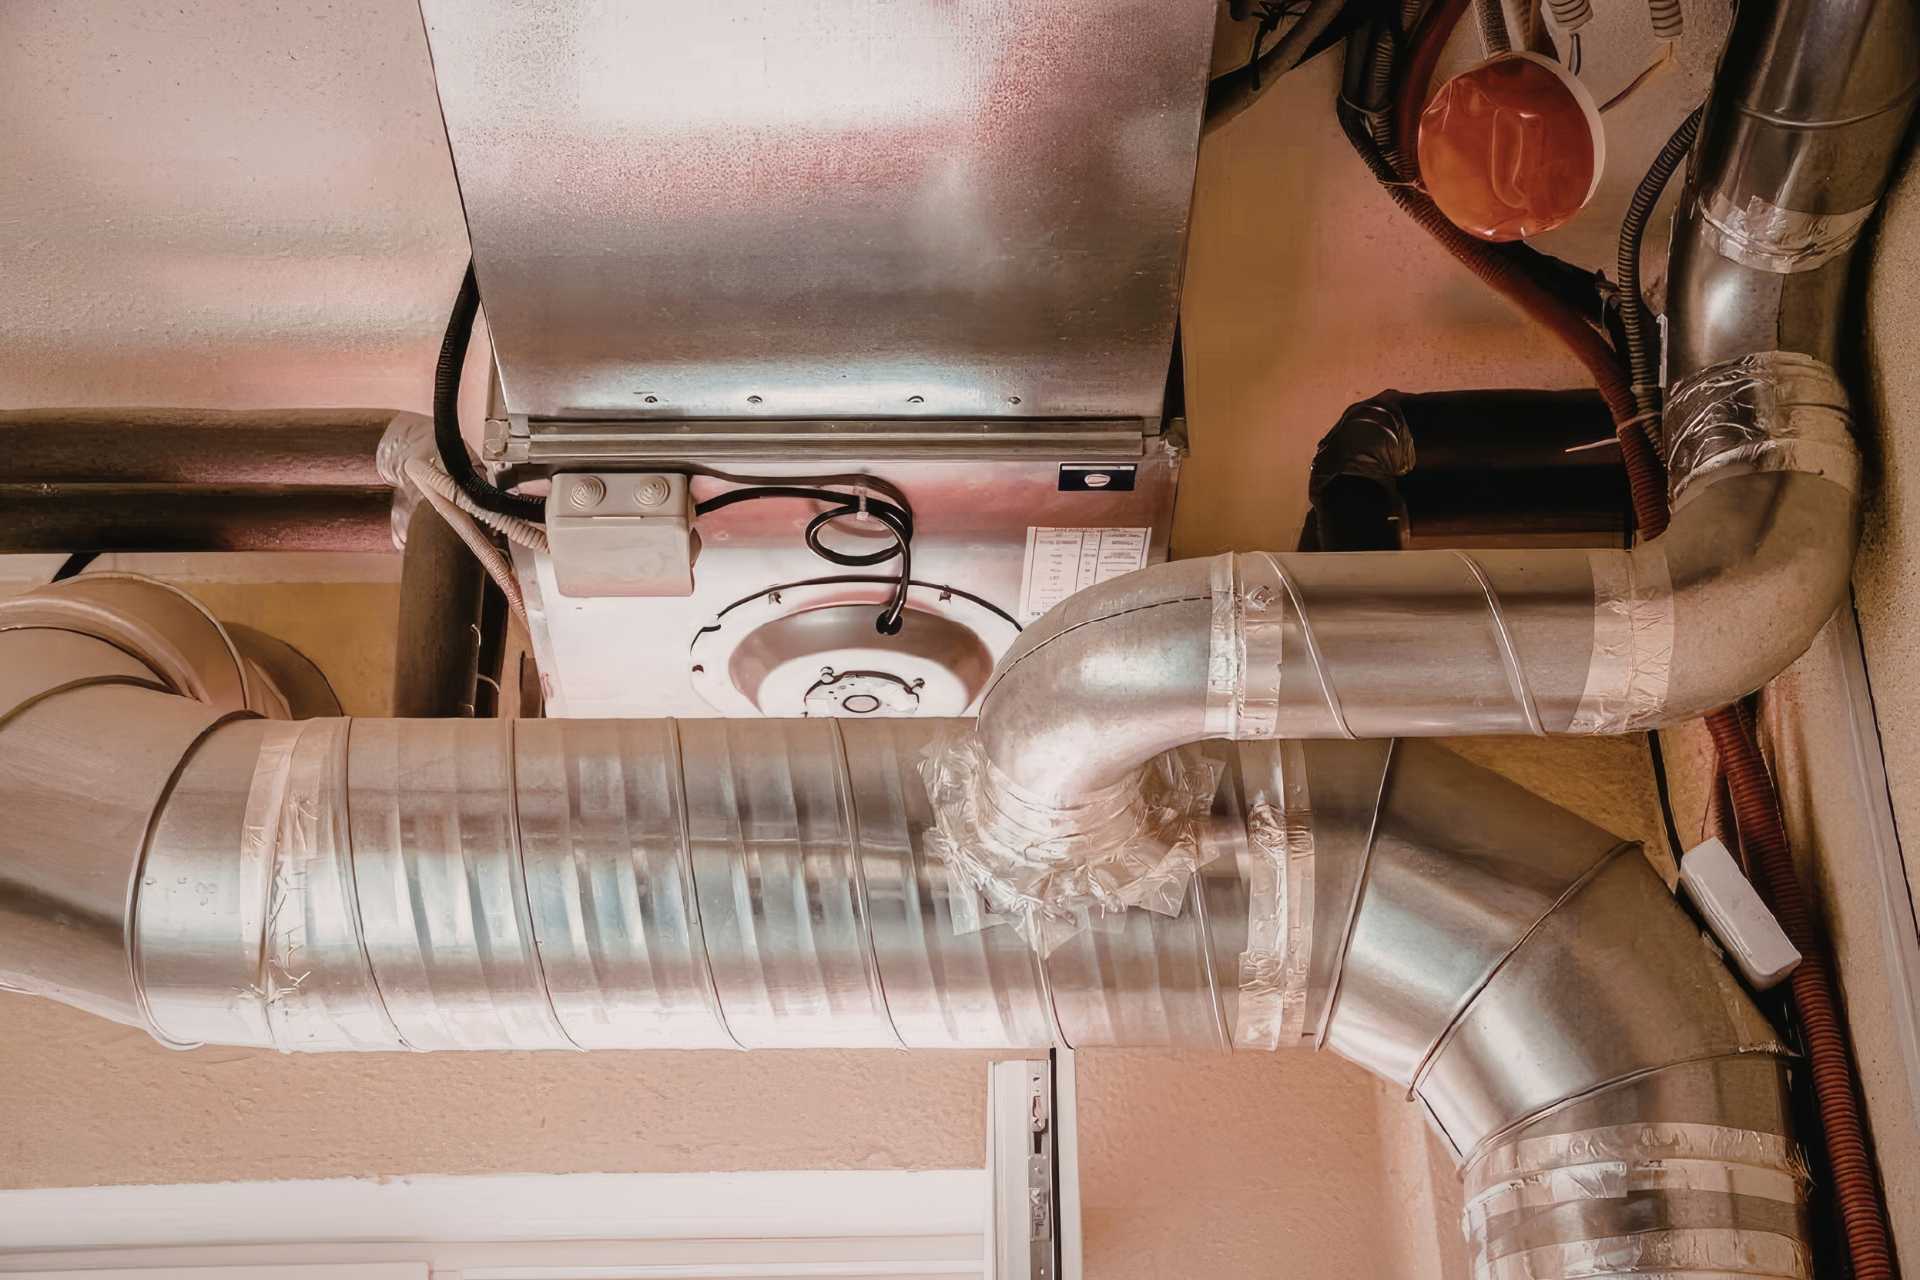
Give Your Outdoor AC Unit a Rest
The first step in the seasonal switch-over is to properly shut down the air conditioning component. Near the outdoor condenser unit, there is a metal box mounted on the side of the house. This box contains the electrical disconnect switch. This switch should be turned off. This simple action prevents the AC from accidentally turning on during a warm autumn day. This can cause damage to the compressor if temperatures suddenly drop below freezing overnight. It is also a critical safety step that ensures the unit has no power before performing any cleaning.
Once the power is off, take a few moments to gently clean the outdoor unit. Throughout the summer and fall, leaves, twigs, dirt, and grass clippings can accumulate on the fins and around the base. This debris can trap moisture against the metal components, promoting rust and corrosion over the winter. A quick sweep with a soft brush or a gentle rinse with a garden hose will clear this away. Avoid using high pressure. For extra protection, consider using a breathable AC unit cover for the winter. This will keep it clean and dry until spring arrives.
Head to the Thermostat: The Brains of the Operation
With the air conditioner safely powered down, the next stop is the thermostat. This is where the system gets its instructions, and setting it correctly is the key to both comfort and efficiency. The process is straightforward: switch the system mode from “Cool” to “Heat.” For most digital thermostats, this is a simple button or switch. If the home has a heat pump, the setting may be “Auto,” which can manage both heating and cooling, but switching it explicitly to “Heat” ensures it will not try to cool the house on a sunny afternoon.
This is also the perfect time for a bit of preventative maintenance on the thermostat itself. If the thermostat is battery-powered, replace the batteries now. This simple action can prevent a frustrating and easily avoidable system shutdown on a cold night when the batteries finally die. It is also a good opportunity to review any programmed schedules. Ensure the settings are optimized for a winter routine, automatically lowering the temperature at night or when no one is home to save energy and reduce wear on the system.
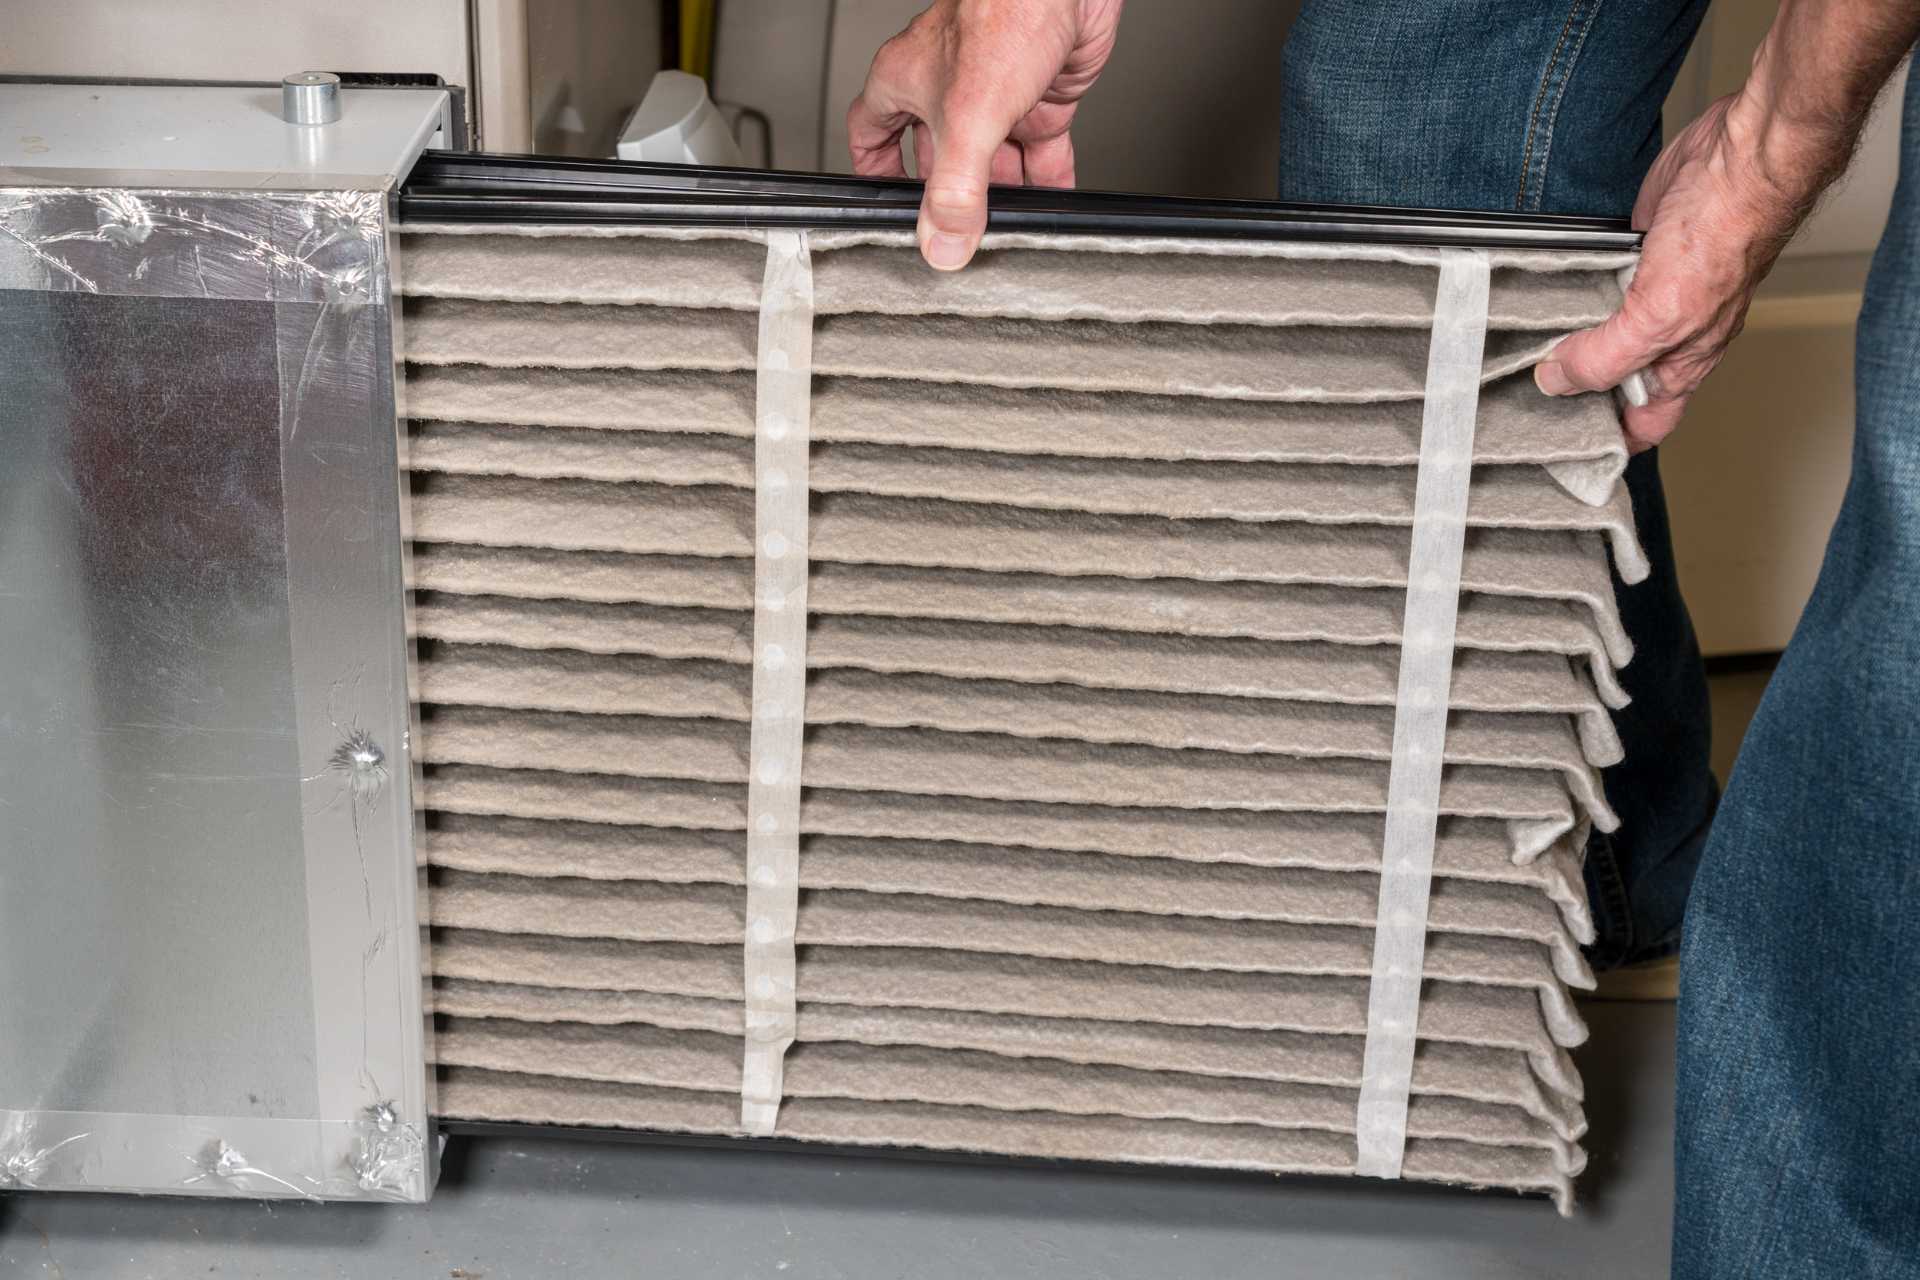
The Most Important DIY Step: Check Your Air Filter
Before starting the furnace for the first time, it is absolutely essential to check the air filter. This filter has been working hard all summer, trapping dust, pollen, and pet dander as the air conditioner circulated air. After months of use, it is likely clogged with debris. A dirty filter severely restricts airflow, which forces the furnace to work much harder to pull air through the system when it is in heating mode. This not only wastes a significant amount of energy but also puts a huge strain on the furnace’s components, which can lead to overheating and premature failure.
A clean filter is essential for efficiency, air quality, and the longevity of the HVAC system. Before the first run of the season, remove the old filter and inspect it. If it is grey, dusty, or you cannot see light through it, it needs to be replaced. Note the size printed on the filter’s cardboard frame and purchase a replacement of the same dimensions. Slide the new, clean filter into the slot, making sure the arrow on the frame points in the direction of the airflow (typically toward the furnace body). This simple, inexpensive task is the best thing a homeowner can do for their HVAC health.
The Pre-Season Test Run
The worst time to find a heating problem is during the first deep freeze of the year. HVAC technicians are at their busiest then. A brief “test run” in the fall helps identify potential issues early. This avoids the stress and urgency of a no-heat emergency. It gives homeowners time to troubleshoot simple problems. They can also schedule a professional repair on their own terms. This prevents a rushed and expensive emergency service call in a blizzard. A test run is a crucial step for a smooth transition to heating mode.
After changing the filter and setting the thermostat, raise the temperature a few degrees. This will trigger the heating cycle. Let the system run for a full 10 to 15 minutes. During this time, listen for any unusual noises like loud rattling or banging. Confirm that warm air is coming from the vents in each room. A slight burning smell is normal at first. This is just dust from the summer burning off the heat exchanger. However, if the system fails to ignite, blows cold air, or makes alarming noises, turn it off and call a professional.
Know When to Call a Professional
While the above steps are excellent DIY maintenance, a professional inspection is the final and most thorough step to ensure a safe and efficient heating season. A certified technician performs crucial safety checks that a homeowner cannot. They will inspect the gas connections for leaks, clean the burners to ensure clean combustion, and, most importantly, inspect the heat exchanger for any cracks. A cracked heat exchanger is a serious safety hazard that can allow dangerous carbon monoxide to leak into the home.
This professional tune-up is the ultimate step for peace of mind. A technician can spot and fix small problems before they escalate into major breakdowns, saving money in the long run. They also measure the system’s performance to ensure it is running at peak efficiency. If the system made strange noises during the test run, if it is over ten years old, or if it has not been professionally serviced in over a year, scheduling a tune-up is a wise investment in safety and reliability. This is especially true if you are starting to budget for an HVAC upgrade, as a technician can provide an honest assessment of the system’s remaining lifespan.
Whole-Home Readiness: Supporting Your Heating System
A well-functioning furnace is only half the battle; the home needs to be able to retain the heat it produces. This is where the home’s “building envelope” comes in. A common complaint is that one room is always colder than the rest of the house, which is often a sign of drafts or poor insulation in that specific area. Checking for and sealing drafts around windows and doors with weatherstripping is a simple, effective task. A poorly sealed or uninsulated garage door can also be a massive source of heat loss, creating a cold zone in the house and forcing the furnace to run more often to compensate.
Other simple preparations work together with the HVAC system to improve efficiency. For example, it is important to remember how roof ventilation and heat retention affect heating costs; ensuring attic insulation is adequate is key. Reversing the direction of ceiling fans to a clockwise rotation helps push the warm air that naturally rises back down into the living space. These small efforts, from sealing drafts to adjusting fans, support the switch to heating mode and help create a more comfortable and energy-efficient home all winter long.
The Warm-Up Act for a Worry-Free Winter
That first major temperature drop is always just around the corner. By following these simple steps, homeowners can ensure their heating system is ready to perform reliably, safely, and efficiently when it is needed most. A smooth transition to heating mode prevents the stress of a mid-winter breakdown and saves money on energy bills. For complete peace of mind, book a professional HVAC checkup before the winter rush. A certified technician can ensure the system is prepared for whatever the season throws its way, allowing you to relax and enjoy a cozy and comfortable winter. For those with older systems, this is also the perfect time to discuss upgrading to a high-efficiency furnace.